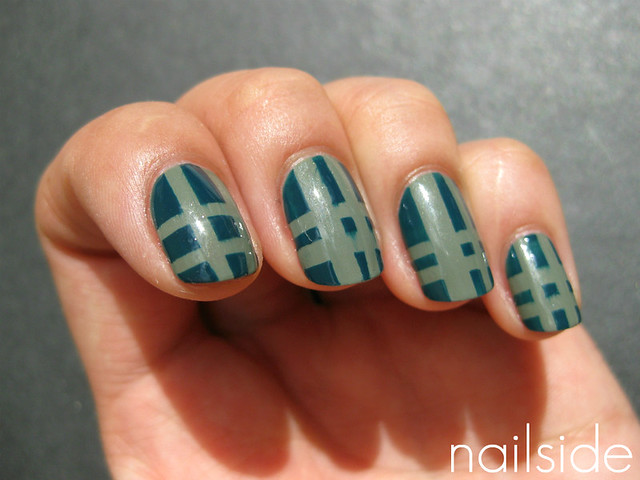
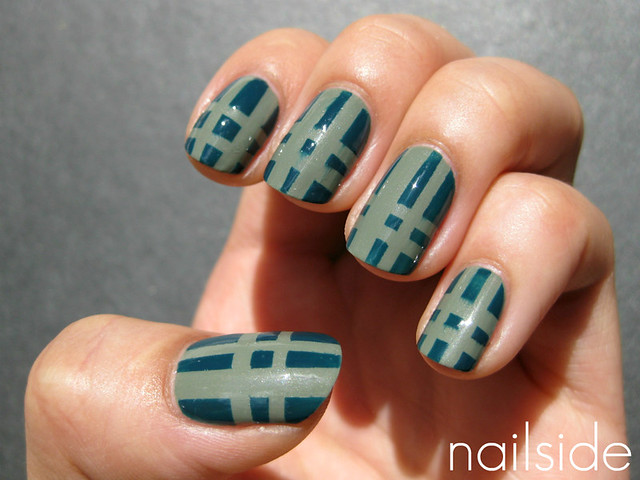
Hi guys! For today's post I have plaid nails to show you. I love pretty much anything with a plaid pattern, so there's plenty of plaid to find at my home, from pillow cases and blankets to shirts and bags and PJs. So why not have it on my nails as well, right? ;) As my base color I'm wearing Essie Sew Psyched, a gorgeous muted grey green with slight shimmer. Then to make the tape design, I used tape strips in different sizes, four for each nail. I placed them horizontally and vertically on my nails, layered it with H&M's Moody Model and a simple plaid pattern was born. So it's quite simple but gives that instant plaid feeling. Doesn't it look cosy? ^^
Showing posts with label Plaid. Show all posts
Neon plaid
Hello readers! Do you remember the neon crackle mani? Well, when I was working on that mani, I discovered you could do pretty cool stuff with layering neons. Because of their sheerness new colors will appear when they're overlapping. So I was very eager to try out this plaid pattern with the four Color Club neons I own, which are Almost Famous, Warhol, Chelsea Girl and Age Of Aquarius.
I started out with two coats of Essence Stamp Me! White. Then I created two vertical stripes on each nail, using two of my four neons and tape for straight lines, after those had dried, I did the same thing horziontally with the colors that were left. And that's how plaid is made! Lol. Thanks for reading, gals! :)
![]() |
| Close-up! |
Preppy plaid mattified
Hello everyone! The other day I did a Preppy plaid mani, but as with many manis I do, I always wonder what it would look like with a layer of matte topcoat. Especially with tape manis since they're so graphical. Mattified the tape pattern just pops more.
Good night!
Preppy plaid
Hi guys, for this post I have a new tape mani to show you. It's a doubled crosspattern which creates a preppy plaid-pattern. The colors I used are Catrice London's Weather Forecast and a classic red creme, also from Catrice from the discontinued Nail Couture collection.
For this pattern I've used four thin tape strips on each nail. If you want to recreate this look, try to keep your tape strips as even as possible for a tidy result. And when placing the strips, start with the first two in the same direction, and the second two in the other. Because of this it's easy to remember the order in which you've placed them which is useful for the removal afterwards. One last tip: don't make your strips too short or you won't have anything to grab on when removing them, about 1 inch/2,5 cm is fine. And if you've never worked with tape before it might be useful to take a look at my tutorial first, click here to see it.
Hope you like it and thank you for reading!