Hi guys :) Yesterday I showed you a lovely blue from Essence,
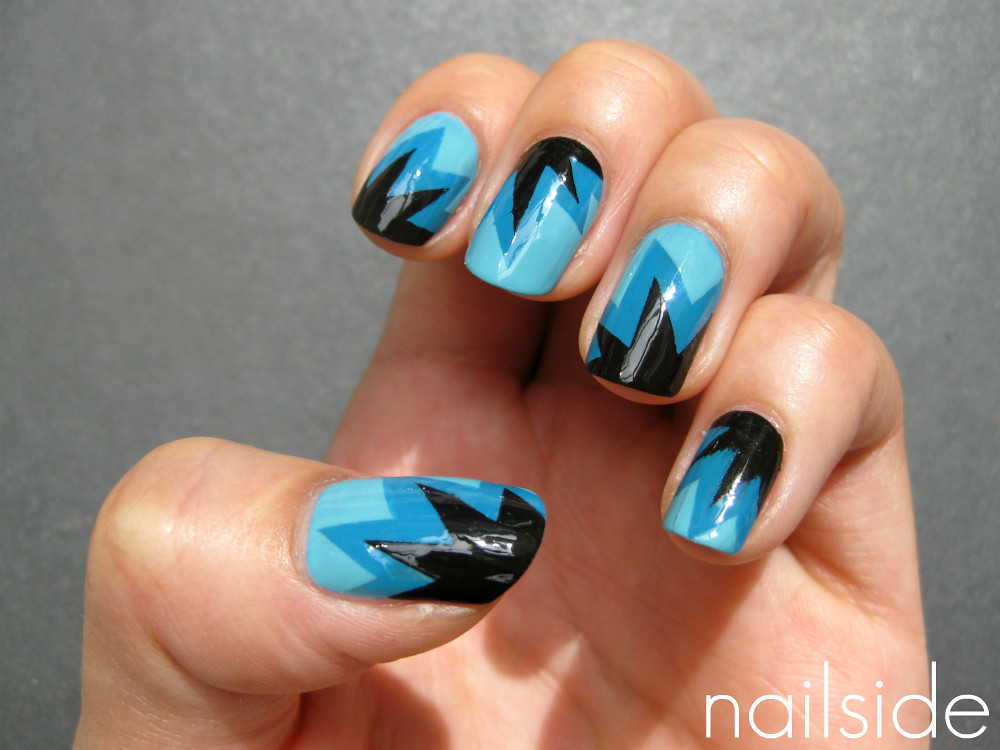
Let's Get Lost. As I mentioned in that post, Let's Get Lost is a one-coater and therefore fast-drying, which is perfect if you want to use it as your base color for tape manis. So that's exactly what I did here. After the blue base color was dry, I cut some triangles out of tape to create the 'explosion' shape, which I used before in my
4th of July nails. Then I applied my favorite black creme over the tape, Color Club Where's The Soiree? and pulled of the pieces of tape right away and let it dry. I repeated this on each finger, but after I was finished, I still felt like something was missing. So I added another color,
H&M Coral Summer (the lighter blue) and that fitted the bill :)
While making this mani I somehow kept thinking about how I would name this post, 'blue explosion'. And one thing led to another and before I knew it I was singing Black Eyed Peas' Boom, Boom, Pow all day long... "I got that boom boom pow!" My apologies if you are singing it with me now hahah. Have a nice day!


 36 comments